Label first, then freeze
Record pack temperature at labelling and the time before cooling. Evaluate the bond after the full freezing, storage and thawing cycle.
Application selection guide
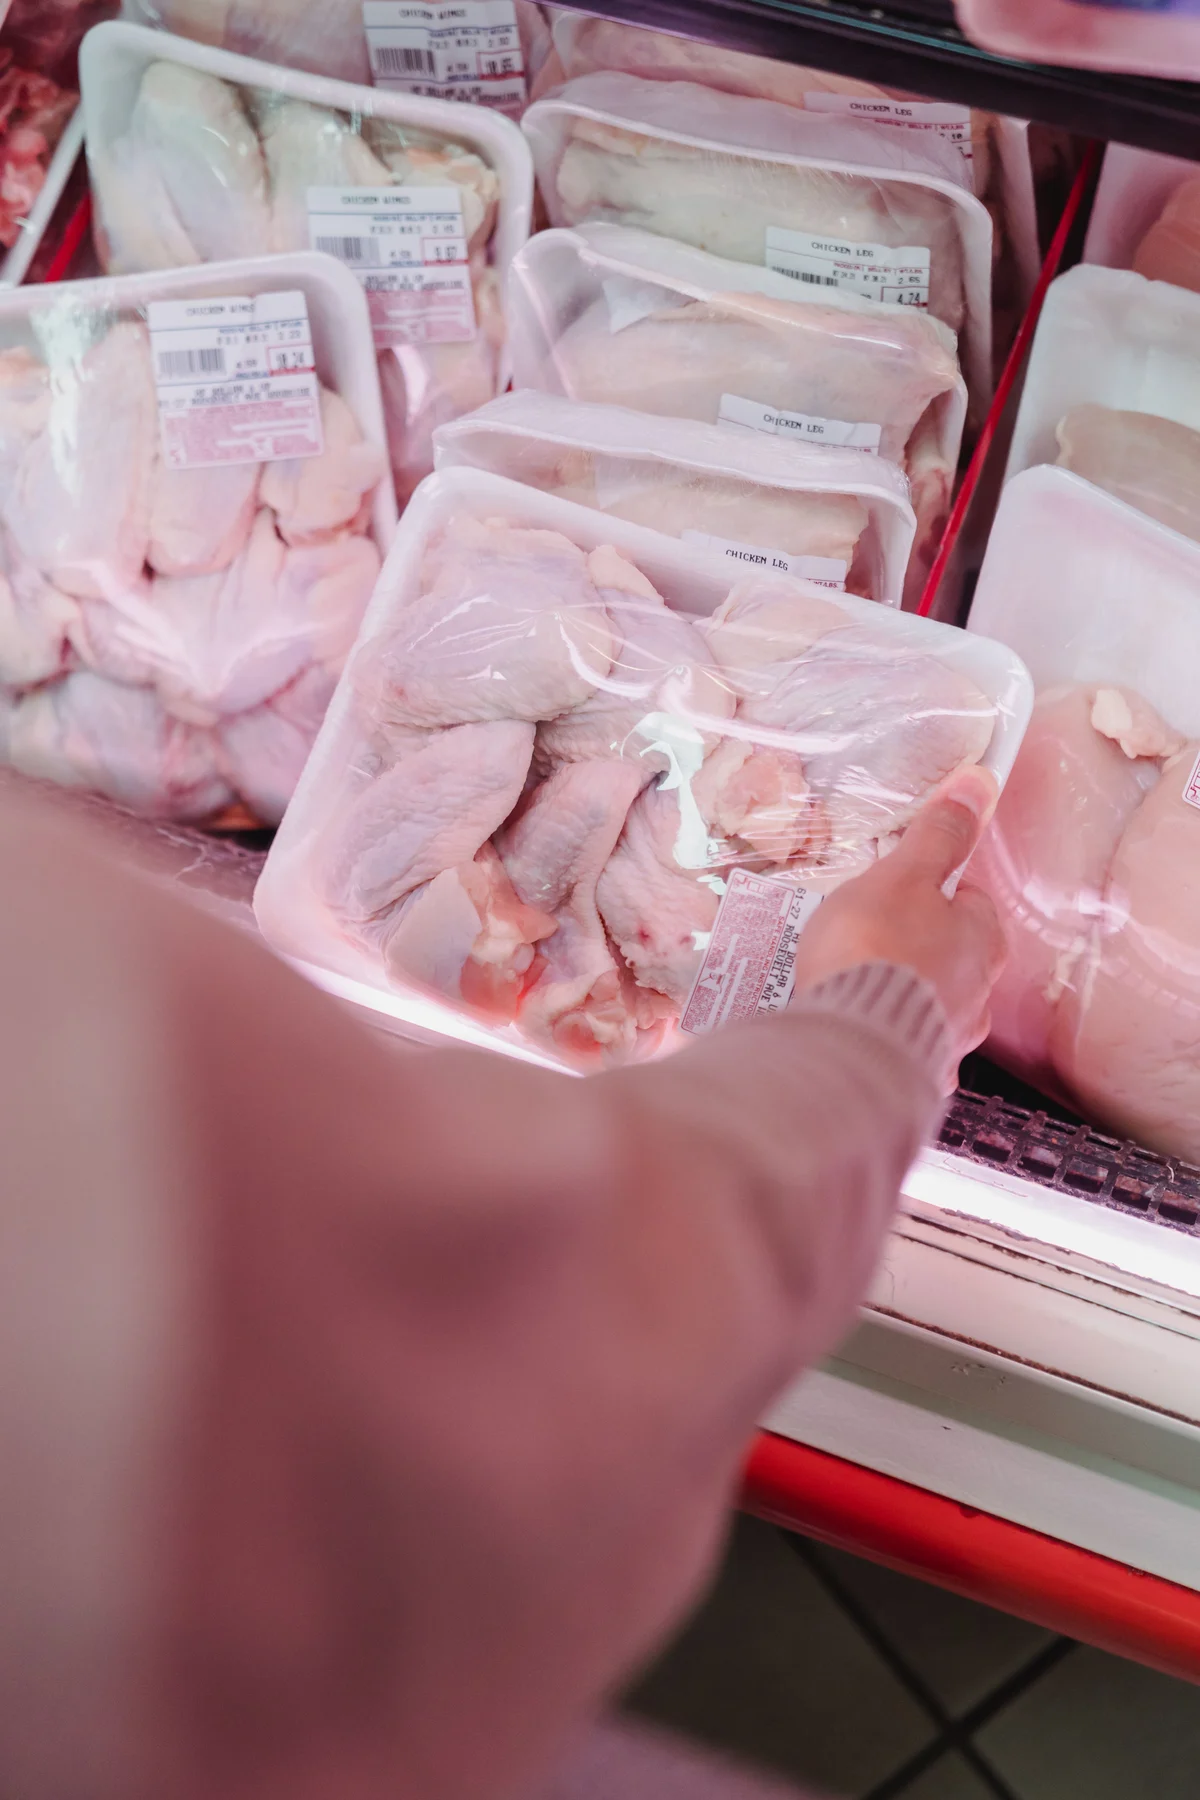
Chilled packs, frozen food and cold-storage identification. Start with the actual package and use conditions.
Application workshop
Record pack temperature at labelling and the time before cooling. Evaluate the bond after the full freezing, storage and thawing cycle.
Measure the pack surface, not just room air. Check condensation and the pressure available on the labelling line.
Describe the water or frost layer before choosing a grade. Do not assume a freezer adhesive can bond through ice; test the surface preparation and labelling sequence.
Check: Surface condition, dwell before freezing, container curve and application pressure.
Try: Mark label edges and photograph them before cooling, after storage and after thawing.
Check: Print process, rubbing, moisture and condensation.
Try: Scan the finished label before and after the agreed cycle using the intended scanner.
Check: Face, adhesive and printed finish on the actual filled pack.
Try: Inspect clarity and bubbles under consistent lighting at each stage.
Compare constructions
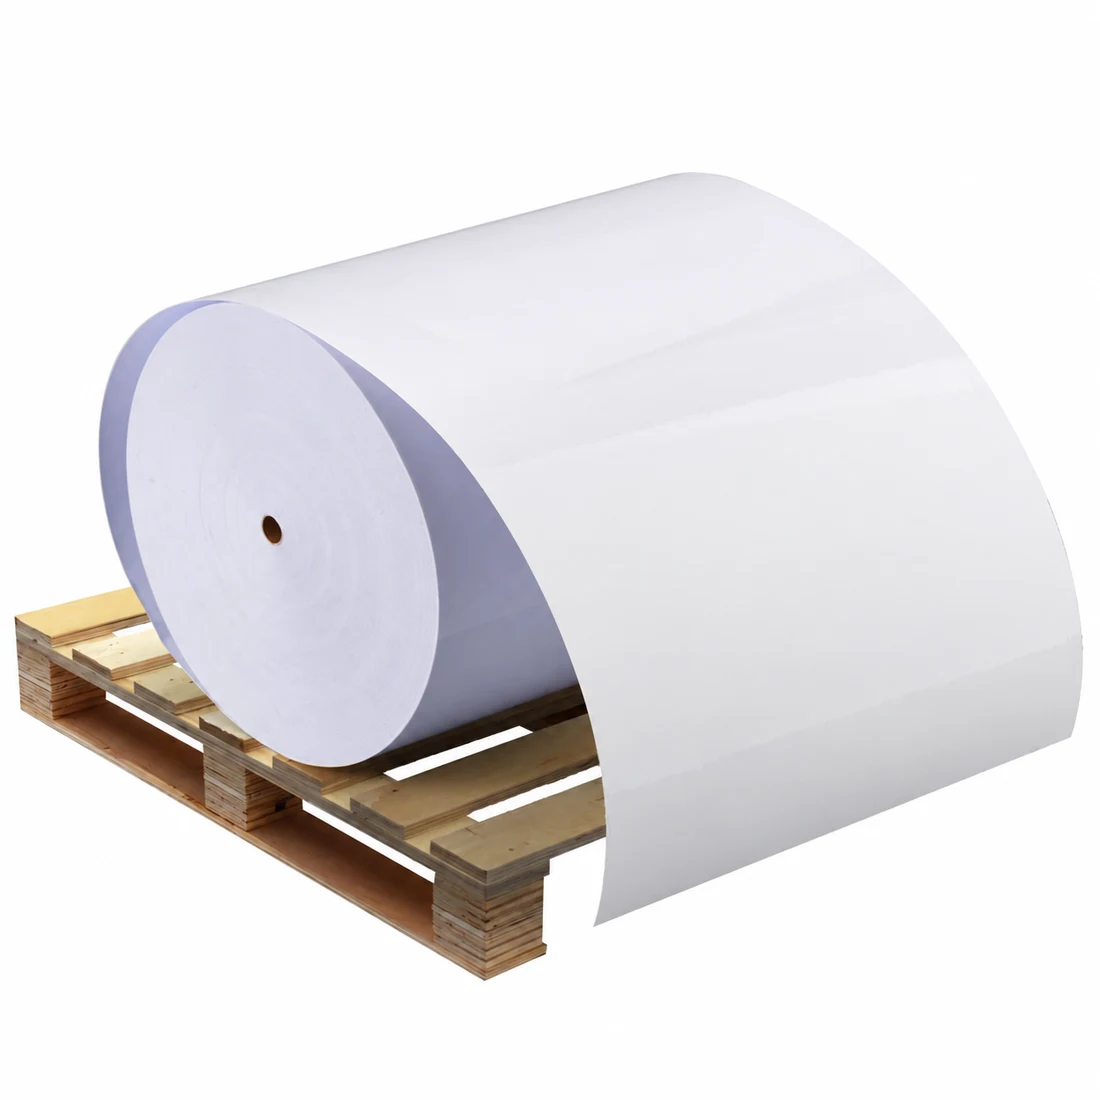
Compare these documented constructions as starting points for a sample trial. Suitability for the actual surface, print process and service conditions must be confirmed.
BOPP / Material construction
Material enquiry